
Preparing Your Area for Painting Baseboards
Preparing your area for painting baseboards is an essential step in the painting process, and it should not be overlooked. It can be tempting to skip right ahead to the fun part—grabbing that brush and diving into your project—but thorough preparation of the area will ensure a smooth outcome. Here are some tips to get you started:
Clear out the space
Remove any furniture, rugs, or curtains from the area around the baseboard so that you have ample room to move. This will also make sure you don’t accidentally destroy anything while completing the job. It’s best if you can shift everything at least a few feet away from the walls; this will give you enough room to work without having to constantly strain your body as you do so.
Check for damage
If there are large dents and obvious signs of wear, apply wood filler before proceeding with painting. These issues should be addressed prior to beginning, otherwise you’ll end up wasting time and resources later on.
Clean off dirt and dust
Before starting any project with paint, it’s important to make sure all surfaces are thoroughly clean and free of debris such as dirt, sand, or food particles. Once these have been removed, use a damp cloth to wipe away any cobwebs or other types of surface buildup that may have accrued over time.
Tape off edges
Now that your walls are free of obstructions, wrap painter’s tape along the perimeter of your baseboards to protect adjacent surfaces like door frames, windowsills, molding, and floors from accidental splatters of paint during application. Make sure each strip of tape adheres tightly against its own respective frame by firmly pressing it down at regular intervals with your hands so that no liquids can enter where they’re not meant to go!
Prime or sandpaper exposed surfaces
Primer is used mostly on unpainted surfaces, as prepping them correctly ensures better coverage and adhesion when it comes time to apply color; likewise with sanding, which smooths out irregularities in existing walls (or newly repaired sections). Both priming and sanding should never be skipped unless instructed by professional contractors who know exactly what needs doing based on your expertise in the field!
Taking care in properly preparing your area for painting is key—you’ll notice the difference in quality after completion if done correctly! With these five steps covered, you now have a clear idea as to how to best tackle turning those drab baseboards into beautiful features throughout your home. All that’s left is applying the paint itself—happy decorating!
Choosing the Right Paint and Brush for Carpeted Trim
When it comes to achieving a beautiful, polished carpentry project, choosing the right paint and brush for carpeted trim is critical. The finishing touch of any room can bring your entire design together, but it depends on both the type of paint and brush for comprehensive coverage. The quality of these materials will determine whether you get the professional-looking results you desired from the start.
When selecting paint, look for antimicrobial, moisture-resistant, latex-based paints as they deliver great coverage and are faster drying than oil-based paints. Latex-based paints come in gloss, semi-gloss, or satin finishes that provide durability and allow for easy cleaning without sacrificing aesthetics. VOC-compliant formulations are low-odor, noncombustible, water-reducible, and often contain mold inhibitors, which makes them ideal for use in a family setting. For carpeted areas, opt for a soft sheen, such as flat or matte, to blend in with existing carpet fibers while providing a topcoat protection layer. Keep in mind that stains formulated specifically for use on carpets may also be used to protect hypoallergenic options.
Beyond this, consider finding brushes with stiff bristles, such as natural bristle brushes or synthetic fiber brushes, with thicker packaging—around 1 inch thickness—that hold more of the primer/paint mixture so your work area gets ample coverage with fewer coats being applied. Brushes made from 100% polyester and blends generally have optimal stiffness levels, which provide plenty of flexion and spring properties to ensure an end result that is uniform across a given surface. Airless sprayers may also be considered depending on the overall breadth of your project size; however, opt against using compressed aerosol cans due to the irreparable damage your heavy solvents can cause to baseboards over time; refer to the installation manual prior to any implementation plans here.
In conclusion, when selecting paint and brush material for carpeted trim, be sure both components match up aesthetically to build upon an already solid foundation. Pay special attention to fine details such as the sheen types listed above! Not all projects are created equal, so take extra measures into account before making any important selections regarding either component part. With proper care and maintenance following where appropriate, these materials should ensure tolerable longevity standards moving forward from this point, so please make conscious decisions accordingly!
Applying Primer Before Painting
Primer is the very first step in any painting project, and it is essential for a quality finish. Primers provide an even base for paint to adhere to, and they protect painted surfaces from blocking stains, water damage, and other absorbent materials.
By applying primer before painting, you achieve professional results in less time. It forms a layer between your skin and the sunscreen, providing even coverage and preventing peeling or fading in the long run. It also helps reduce future maintenance costs as well as save on energy costs over time. Additionally, primer seals porous surfaces like wood or drywall so that the end result looks flawless with no visible grain pattern or texture beneath the paint color.
In order to get optimal results when applying primer before painting, there are several steps you should follow. First, clean the surface thoroughly before starting; ensuring that the surface is free of dirt and debris will ensure better adhesion and a longer-lasting seal of color. You should then apply an even coat of primer with a brush or roller directly onto the cleaned surface. Allow adequate drying time (typically up to 24 hours) before proceeding with the next step—adding additional layers if needed. Finally, any repairs, such as filling holes, should be done prior to priming; the added fillers will further strengthen your finished product while also increasing longevity and protection against staining.
Ultimately, applying primer before painting is an important step toward achieving great results! By making the extra effort up front to prepare your spaces properly, you will not only dramatically improve their appearance but also benefit from increased durability down the line. With proper priming techniques like these, you can confidently tackle DIY painting projects AND feel confident knowing that your final product won’t be compromised due to inadequate preparation techniques!
Rolling on a Coat of Paint to Baseboard with Carpet
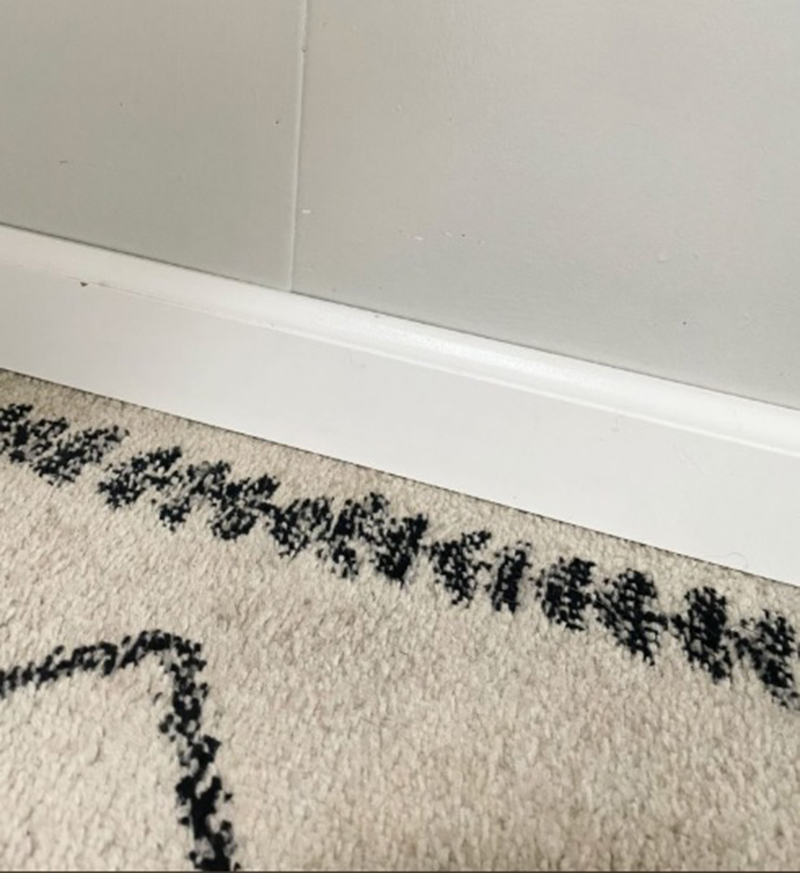
Carpet provides an aesthetically pleasing look in any home, and giving its baseboards a solid roll of paint refreshes the look. With carpet, though, it can be more demanding to make this upgrade. The fibers of carpets can often drag up some of the paint when applying it with traditional methods like standard painting tools or roller applicators. To avoid paint errors on your wall’s finishing details, you should use caution when rolling on a coat of paint to the baseboard since walls are commonly adjoined together.
Using painter’s tape is essential for creating straight lines free from smudges. First, apply the strips to cover along the walls where they meet a carpeted surface; try not to leave too many gaps between each strip if you have specific lines you’d like to follow. Doing this will reduce potential complications that could arise along the edges while still making contact with enough surfaces that the paint won’t bleed through. If there’s an opening beneath where the carpet meets the bottom of the baseboard, fill it in with caulking material before moving forward and using tape strips around them both so everything looks uniform.
Next, prepare a mixture of 1 cup mild soap and 2 cups warm water, which will help create clean and tight lines during application. Use a sponge or cloth to generate consistent circular motions with gentle pressure as you move top-down, following each strip, until the entire wall becomes covered in solution; until this happens, it should remain damp for at least two minutes prior to continuing on with the steps described below:
Cheap metallic rollers usually lead to lint passing over lumps in carpets, but better rollers come either with extra-thick naps, which should overcome most resistance from bumps underneath carpeting, or with microfiber yarns designed specifically for absorbing even small particles and dispersing paint evenly across surfaces that are hard to reach, such as islands associated with these stunning floors! When finished cleaning areas mentioned earlier completely (remembering spots outside perimeter created by taping), simply load up one side’s loop section with your chosen type roller followed by pouring appropriate amount sample test brush towards opposite end handle location before firmly pressing down into coveted position using fingers until all bubbles dissipate — congratulations! You’re now ready for the actual application process, starting near the corner tile nearest the entrance door and going gradually outward to achieve a symmetrical pattern across borders visible from other room angles throughout the house’s interior design scheme.
Stiffly oversee deposits placed because your permanence depends on the smoothness applied, averaging roughly 2 to 12 square feet per pass roll. skimming parallel lines with wide spacing, ensuring a consistency-focused job while color fills without clumping down center portions lying flat instead of bulging out on either side, as sometimes experienced on cheap common products; Try to hold speed steady regardless of additional consistency; however, don`t push too hard if you are able to avert sluggish relocations; otherwise, you may drag further pieces loose and be unable to stand upright despite the contour hidden beneath the carpet. fabrics alike Mats are pretty good at offering due density while distancing and propping objects in higher ground support positions, keeping the status quo, and therefore causing less wear and tear compared to doing similarly distinct designs without sufficient padding inside, resulting in indentations. content bulging with potential issues The occurrence of damaged goods within a short time period naturally diminishes their longer lifespan when done correctly; respect for above-average quality substances injected into production comes first. Great work! Now that your baseboard has finally been painted and carpeted together, enjoy how vibrant it makes your space look!
Finishing Touches: Cleaning Up and Enjoying the Results
Finishing Touches: Cleaning Up and Enjoying the Results is an important aspect of any project, big or small. When you’ve been working hard to create something amazing, it can be difficult to let go and take that last step—but it’s essential if you want your work to look its best. Finishing touches help complete a project in a way that leaves an effect, making sure all the little pieces have been looked after and everything is presented at its finest.
It’s time to put in the final effort—this is where those special finishing touches come into play. It’s not just about aesthetics; rather, these details should both reflect the original theme and contribute to an overall feeling of completeness. Think of it as taking an already appealing result and elevating it another level. That can involve cleaning up loose ends on a project as small as painting a room or larger tasks like landscaping for curb appeal. Looking over the paintwork for items missed or adding window treatments is often overlooked until this phase.
Cleaning is key when finishing a project—it’s almost like starting over with an appreciation for what has been done before. all dust, dirt, and excess materials from each surface to smooth transitions between areas of your space. Give windows extra attention since they reveal the depth of brightness uncovered during a project. Vacuum furniture with specialty brushes to ensure no one item shakes loose or reveals hidden elements accidentally stuck in places unseen before tackling heavy traffic areas such as carpeted spaces and floors covered with tile or wood. Even rugs should be given individual care by beating off particles of dirt that can otherwise stick around even after vacuuming.
Finally, step back and appreciate all you have accomplished! Bring in both form and function by organizing storage areas so everything appears neat and useful items stay close at hand when needed quickly on-the-go or while entertaining guests at home.
Conclusion
Painting your baseboards with carpet is a great way to protect your walls and maintain their pristine appearance over time. This easy DIY project follows the same routine you’d use when painting any surface, but requires some patience and prep work for the best results. To get started, make sure all carpets are vacuumed, walls are cleaned, and painter’s tape is applied. Then, apply two coats of primer designed for high-traffic areas and then one more coat of latex paint in the color of your choice. Be sure to let the paint dry completely before reinstalling your carpet, and enjoy the fresh new look of your space!
Excerpt
For those who want to give their home an update, painting the base with carpet is a great option. Follow this comprehensive guide for the best results: Empty the room, use painter’s tape and drop cloths, apply primer, select a paint color, and check for any visible flaws. Have fun and get creative with your project!

We’re Emma Carole Paradis and Kimberly Carole, the owners and designers of Impeccable Nest, based in Bedford, New Hampshire. A mother-daughter team with a love of design. Originally from Manhattan Beach, California, now based in Bedford, New Hampshire, we bring a Southern California cool and New England tradition to our design. Not only do we work together…we also live together in a multi-generational home…and a home that they are known to design for others.