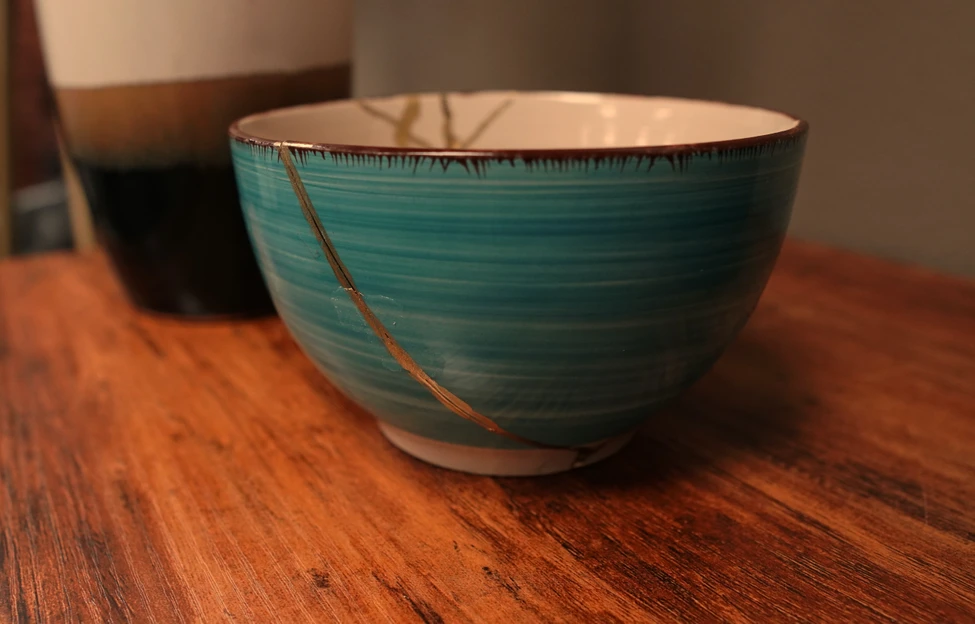
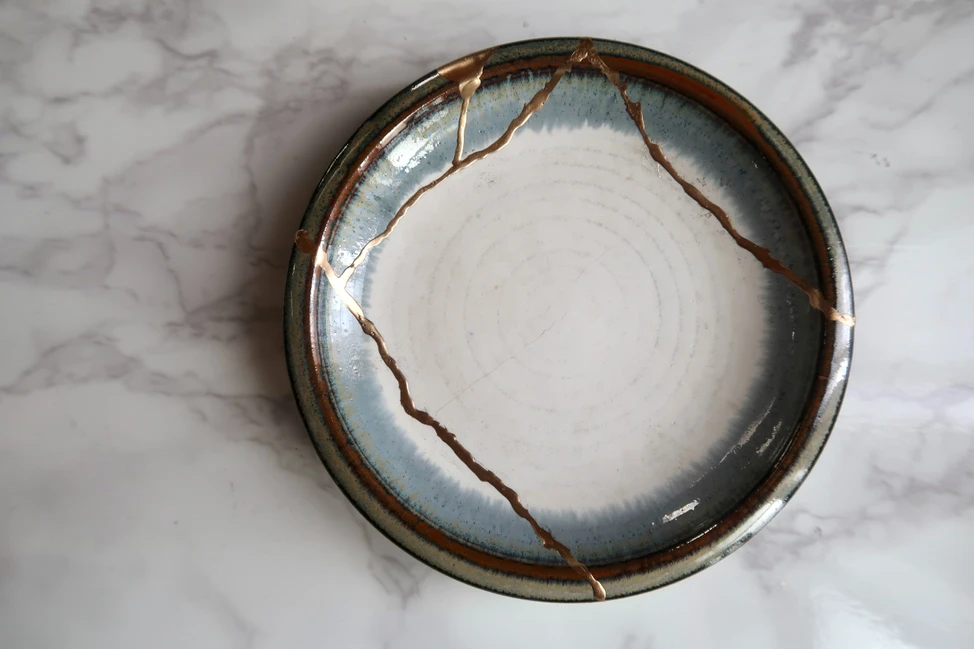
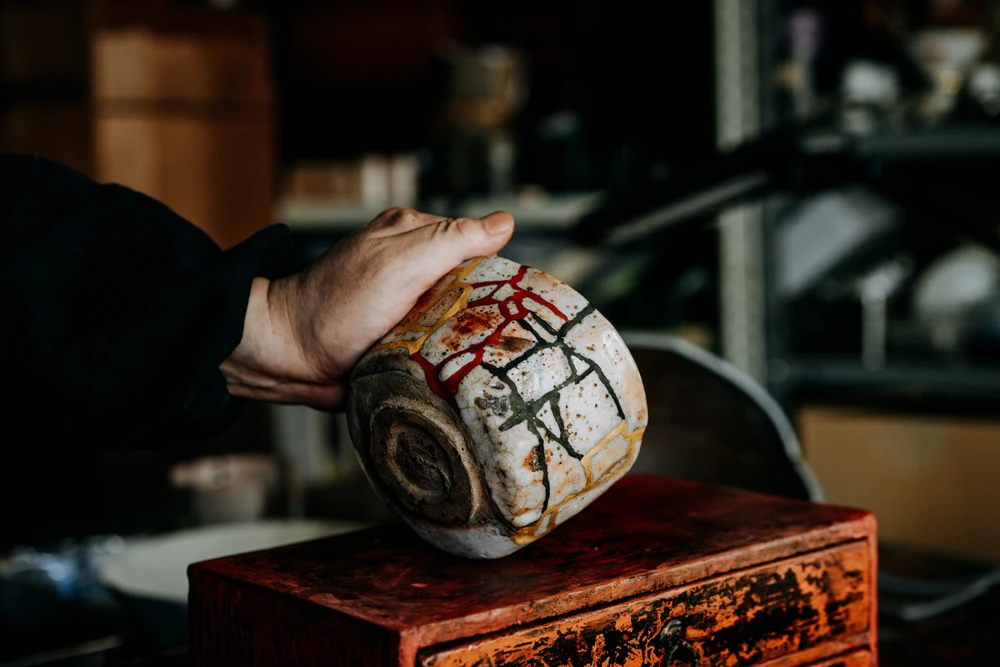
You won’t have to give up on your favorite ceramics if you learn how to do kintsugi on your own. Instead, you can use the unfortunate event as a springboard for your own originality and creativity. The end product is a stunning work of art that not only pays homage to the original design but also draws attention to the flaws and the special history of the item.
In this article with Impeccable Nest, we’ll explore the world of DIY Kintsugi, including the tools and materials you’ll need, step-by-step instructions for creating your own Kintsugi masterpiece, and tips for perfecting your technique. With the help of DIY Kintsugi, you are about to embark on a journey of creativity and transformation, and you will discover the beauty that can be found in broken things.

What is Kintsugi?
Kintsugi is a traditional Japanese art form that involves repairing broken ceramics with a unique kind of glue. This art form dates back centuries in Japan. Instead of dismissing broken ceramics as being of no use, the art of kintsugi acknowledges that cracks and repairs are an important part of the story of an object. This art form goes beyond simply repairing broken ceramics by using a special lacquer that is mixed with gold, silver, or platinum. It is used to mend broken ceramics. Kintsugi is a Japanese technique for repairing broken ceramics by applying precious metals to the fractures in order to create a brand-new object that is even more beautiful than the original. Kintsugi is not only an art form, but it is also a philosophy that places an emphasis on the path that an object has taken, the acknowledgment of the flaws that the object possesses, and the endeavor to find perfection in its flaws.
The art of kintsugi can be traced back to the 15th century, when a Japanese shogun named Ashikaga Yoshimasa sent a broken tea bowl made in China to be repaired in its country of origin. Because the bowl was returned with unsightly staples, it presented a challenge for Japanese craftsmen to discover a method of repair that was more aesthetically pleasing. As a result, the art of kintsugi emerged, which is characterized by the application of precious metals during the process of repairing broken pottery in order to create a brand-new, one-of-a-kind piece of artwork.

Kintsugi views the process of repair as something to be celebrated rather than something to be hidden. Instead of being something to be embarrassed about, the scar or repair work becomes an essential component of the piece and can even be celebrated as being a part of it. This strategy imparts the object with a one-of-a-kind beauty and value because it testifies to the history of its previous application and the process that was used to restore it.
How To Kintsugi
If you’ve never done anything like this before, you’re probably curious about the best kind of glue to use for the repair work you need to do. There is no need to look any further than the E6000 bonding agent, an adhesive that has been tried and tested and has become a firm favorite among do-it-yourself enthusiasts. Because of its reliable adhesion and adaptability, it is an excellent choice for repairing ceramics, and now that it comes with a metallic finish, you can add a dash of glitz to your Kintsugi repairs. Therefore, you shouldn’t waste your time and effort on subpar glues that might not be up to the challenge of the task. Instead, for all of your kintsugi needs, reach for E6000, and you will be able to appreciate the beauty and durability of your restored ceramics for many years to come.

If you want to try DIY kintsugi, you can follow these steps:
Step 1:
In order to become proficient in the art of kintsugi, you will need a shattered piece of pottery, kintsugi lacquer, gold powder, a brush, and a scraper. Additionally, you will need a broken piece of pottery. You can acquire these supplies from a retailer either online or in the art supply store that is most convenient for you. It doesn’t matter if you’re just starting out with kintsugi or if you’ve been practicing it for years; if you have these supplies on hand, you’ll be able to fix your broken ceramics with ease and style. Consequently, get ready to learn the stunning art of kintsugi by gathering the necessary materials.
Step 2:
Do not allow yourself to become disheartened as you observe the shattered fragments. Instead, as you move forward with the restoration process, allow a sense of calm to come over you as you take the first step. To get started, give each component a thorough wash with some mild dish soap and warm water. This will allow any dirt and other contaminants to be removed from the components. Also, keep in mind the importance of having patience, as the healing process can take some time. When you are finished, spread the pieces out in the warmth of the sun’s rays and leave them there until they are completely dry. After this step, and only after this step, will you be able to confidently advance to the next stage, knowing that you have established a solid foundation for what is still to come.
Step 3:
The broken edges of the pottery are next given a coat of lacquer as part of the kintsugi process, which is the final step. You are going to need a brush in order to apply the kintsugi lacquer in a manner that is even and not too thick. It is essential to apply the lacquer in a uniform fashion in order to ensure that the end result is one that is not only durable but also aesthetically pleasing. It is recommended that the lacquer be allowed to dry for a period of at least twenty-four hours after it has been applied. This will allow the lacquer to cure completely, which will result in a sturdy bond being formed between the shattered pieces. You’ll be able to successfully apply kintsugi lacquer and turn your broken ceramics into one-of-a-kind works of art if you follow this advice from industry experts.
Step 4:
After the kintsugi lacquer has had ample time to fully dry, the cracks will be sprinkled with gold powder. This will be the final step. Spread the gold powder over the cracks in a generous manner using either a small brush or your fingers. This should ensure that the cracks are completely covered. This step is essential in order to create the distinctive visual appeal that is characteristic of kintsugi, which consists of making the cracks shine with a metallic finish. You can make the cracks in the lacquer into something beautiful and increase the piece’s value by adding gold powder to the lacquer. Kintsugi allows for the creation of striking pieces that are not only one-of-a-kind but also long-lasting if the technique is applied with care and attention to detail.
Step 5:
It is important to keep in mind, as you move on to the next stage of your project, that the process of refining is where the real beauty is created. Take a light grip on the scraper or sandpaper you’re going to use, and as you move it across the surface, let your creative juices flow. While you are working to smooth out the surface, allow your mind to wander and investigate the countless options that are currently available to you. Keep in mind that the path you take to get where you want to go is equally as significant as the destination, and that the struggles and tests we face help shape who we become. Take some time to admire the results of your labor once you have completed the process and emerged on the other side, with the excess gold powder having been removed and the surface glistening in the light. Because of your efforts, something ordinary has been elevated to the level of something truly extraordinary, and as a result, the beauty of the world has been enhanced.
Step 6:
Polishing the surface of the ceramic piece is the final step in the kintsugi process. This step is done to enhance the shine of the gold powder that was applied earlier. To accomplish this, take a soft cloth and polish the surface in a gentle manner in a circular motion, taking care not to disturb the gold powder or the lacquer. This last step gives your kintsugi piece a professional finish and draws attention to the aesthetic value of the repaired cracks. A kintsugi piece that has been polished to a high sheen is not only aesthetically pleasing but also serves as a demonstration of the durability of the ceramic piece as well as the artistry of the kintsugi technique. You can make a one-of-a-kind and impressive work of art that will last for many years to come if you follow this one step that is both straightforward and essential.
Because we had such a good time and were blown away by how stunning these finished products were, we seriously debated whether or not to deliberately damage some of them. No worries, we didn’t. Kintsugi, on the other hand, is an intriguing concept, don’t you think? “There was no attempt to cover up the damage; rather, the repair was brought to light.”

We’re Emma Carole Paradis and Kimberly Carole, the owners and designers of Impeccable Nest, based in Bedford, New Hampshire. A mother-daughter team with a love of design. Originally from Manhattan Beach, California, now based in Bedford, New Hampshire, we bring a Southern California cool and New England tradition to our design. Not only do we work together…we also live together in a multi-generational home…and a home that they are known to design for others.
