Are you looking for unique and cost-effective ways to entertain guests in your home? Transforming Your Coat Closet into an In-Home Bar is the ideal way to make any occasion truly memorable. This guide offers a variety of ideas and strategies for designing a stylish bar, complete with one-of-a-kind decorations and specialty beverages. Explore the numerous options available for equipping an enjoyable home entertaining area without breaking the bank, from creative storage and organization techniques to tips on stocking the bar at a low cost! Martha Stewart’s LIVING magazine featured an intriguing DIY project: converting a closet into a bar. We couldn’t wait to try out the project because it appeared to be so simple and entertaining. We love how this concept can create an inviting atmosphere while also making the most of a small space. It’s a unique and useful way to add visual interest and functionality to your home. Having a bar in your closet is sure to impress your guests and elevate your space, whether you’re hosting a party or just having a casual night in. So, let’s get started and learn how to convert a closet into a stylish and functional bar.
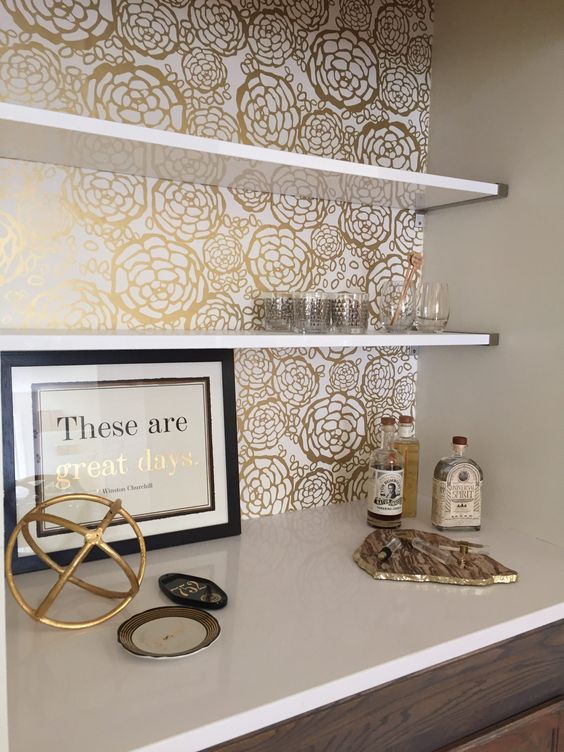
Transform Your Coat Closet Into a Home Bar
Turning a closet into a bar not only adds a unique touch to your home, but it also maximizes space and provides a stylish place to entertain your guests. This creative project is an excellent DIY opportunity for those looking to exercise their creative muscles while also improving their home.
Determining an Appropriate Location for Your In-Home Bar
One of the most important decisions to make when planning an in-home bar is where to put it. A designated area for drinks and cocktails can quickly become a focal point for entertaining guests. Knowing where to put your in-home bar will help you create a functional and stylish space that everyone will enjoy.
First, consider the size of the room or area in which you intend to install your bar. If you’re short on space, look for small areas that can be used, such as under staircases or deep closets, and then take advantage of vertical storage spaces by installing shelving that stretches from floor to ceiling. Consider traffic flow so that guests can move freely throughout the house rather than being constrained to a single area.
Another important consideration is proximity; find a location where you can set up your recessed mini fridge and store your bottles with ease. You don’t want to put it in the kitchen because guests will have to walk through it to get a drink, but the living room or den might be better options. Additionally, when considering possible placements, consider maximizing any corner areas because they frequently have at least two walls that provide excellent stability.
Another factor to consider when deciding where to locate your in-home bar is lighting. Layer softened ambient and accent lights to create a cozy ambiance instead of relying solely on harsh overhead light fixtures; this is especially true for an outdoor patio setup where pendant lighting suspended from poles provides excellent illumination for night gatherings.
Finally, consider using statement wallpaper or an eye-catching backsplash behind shelves filled with herbs and glassware to add style to your home bar. Creating a stunning in-home bar isn’t impossible with careful thought and attention to detail—and making it liveable couldn’t be easier!
Maximizing Wine Bottle Storage Space in Your Coat Closet Conversion
If you’re a wine enthusiast looking for ways to maximize wine bottle storage space in your coat closet, consider a coat closet conversion. A coat closet conversion can be a simple and low-cost way to store and enjoy all of your favorite wines. You can create an efficient yet stylish storage solution for your bottles with a few simple modifications and storage containers.
One advantage of converting a coat closet is that it can turn otherwise unused space into useful storage for wine bottles. Small changes, such as installing new shelving solutions or utilizing existing ones, can quickly yield enough storage for dozens of bottles, depending on the size and configuration of the closet. To ensure optimal accessibility and organization, arrange bottles by type (red or white) or region – leave enough space between shelves so that individuals can clearly see all of the labels. Storing bottles upright helps preserve the cork and prevent sediment buildup inside the bottle while also providing a more appealing visual presentation.
You don’t have to stop at just storing bottles in your newly converted closets; consider using wall-mounted accessories like hooks, racks, shelves, or cubbies to maximize available space even further. Corkscrews, decanters, and other items are frequently found in these wine storage areas, creating an inviting environment for tasting sessions with family and friends. Lighting fixtures or colorful accent pieces can also be used to bring life to an otherwise utilitarian piece in your home.
Of course, safety should always come first with any DIY project, especially when dealing with alcohol. Before beginning work, conduct background research on building permit requirements in your area; inspect structural support systems such as walls and shelving; double-check electrical outlets, especially if you intend to attach sconces or additional lighting systems; thoroughly clean surfaces prior to installation; test equipment such as screwdrivers and drills ahead of time; and wear proper protective gear such as gloves or eyewear when completing ta
Turning your current dresser’s quarters towards oenophile pursuits yields plenty of rewards, whether you’re an enthusiastic collector, a connoisseur winemaker, or simply a seeker of new experiences. Many people prefer to embrace concepts like this because they are less expensive than customizing entire spaces devoted solely to bottled consignment! While creating something amazing requires effort, going through the process from beginning to end helps form unforgettable memories that will last a lifetime!
Design Hacks for a Stylish and Practical Home Bar Setup
Setting up a stylish and functional home bar doesn’t have to be difficult—with the help of these helpful design hacks, you can have your own bar fit for any cocktail party or solo nightcap in no time.
Before you begin shopping for supplies, consider the size and scale of your space. If you’re setting up a bar in a large kitchen or dining room, larger pieces like an all-inclusive wet bar cabinet or sideboard are likely to be required; however, if you live in a small apartment or studio, consider a compact ready-made bar cart instead. Whatever solution you choose, it should combine great form with great function. Look for a piece with plenty of storage options to keep your bottles and accessories organized. Bar carts are fantastic because they provide a lot of flexibility; by using castors, they can be easily moved around when needed.
Begin by selecting the appropriate materials for your ideal home bar setup. Wood is always a classic choice that lends itself well to dark finishes and decorative metal details—plus, depending on the look you’re going for, think outside the box: wine crates, bookshelves, and shelving units also make excellent vessel holders. If you must assemble your furniture, choose lightweight but sturdy materials like acrylics that can store a lot without taking up too much space on the surface.
When it comes to creating an inviting home drinking experience, keep in mind that lighting has just as much of an impact as style and functionality. To create balance in the space, match gold fixtures or steel accents with the rest of your decor. Sconces add light reflection as well as additional wall art to your walls, whereas string lights provide a glow with minimal disruption (or cord exposure). Depending on the available space, choose vertical sconces from high ceilings or smaller table lamps for night-time cheering sessions on decks or patios.
Other suggestions for displaying spirit selections tastefully include selecting shelves that reflect the culture of the drink selection, displaying items by color, and creating personalized labels where appropriate. Vintage beer tap handles or bold prints adtiise favoriteecipes Drink staples can determine the mood, along with virtual bartender apps that create custom cocktail names among friends. 1 Want something more professional-looking? Add stainless steel elements like ice buckets and shakers to keep drinks cool while sprucing up any modern design scheme—nothing beats having glassware made specifically for bartending! Consider using beer mugs, snifters, or New Orleans-style hurricane glasses to accommodate your guests’ preferences! Finishing touches such as coaster sets, linen napkins, or cocktail swords complete an upscale atmosphere that all of your guests will enjoy.
DIY Projects to Re-Purpose Materials Into Useful Bar Accoutrements
Repurposing materials into useful bar accoutrements is an excellent way to save money while also being creative in the home bar. DIY projects provide an opportunity to create functional yet stylish accessories for any style of bar using basic tools and supplies. Here are a few upcycling projects to help you maximize your budget as you outfit your at-home watering hole.
Begin with bottle caps first. Bottle caps are ideal for making beer coasters to keep condensation from accumulating on surfaces and furniture. The simplest idea is to glue several bottle caps together and protect them with a layer or two of varnish. Trace triangles on them or use metal pliers to shape them into stars or other designs before adding a decorative finish for a more intricate project. Another clever idea is to string several caps back-to-back along a length of cord to create colorful bottle openers! Just make sure to use caution when using scissors, knives, and other sharp tools when working with these smaller objects.
Old wine corks can be used to make trivets that can be used as coasters or placed under hot dishes served at gatherings. To make this easy project, glue several wine corks onto a square wooden board until the surface is completely covered, then add decorative items on top such as wrought iron handles for hanging or door pulls, cutouts backed by stained glass mosaic tiles, garlands sprigs, or even wallpaper if desired. Don’t forget about the non-skid bumpers on the bottom! This project may take a little longer due to the drying time required, but it will be worth it when you have something unique and full of character!
Finally, scrap wood can be used to create eye-catching signs that add flair behind the bar or announce the types of beverages that are available in each room throughout the house. Begin by layering distressed wood pieces, mounting them onto a larger piece for strength if necessary, then paint images, drink names, or funny phrases with stencils and colored markers connected by twine enhanced with faux pearls and jute rope if desired – no one will ever question your creativity after hanging this display piece!
Overall, repurpose materials that would otherwise go unused and turn them into conversation starters when entertaining guests at home; it’s amazing how many useful bar accoutrements you can make for a low cost with a little dedication and commitment! Not only does repurposing materials save resources, but it also helps to keep designs original.
Creative Ways to Incorporate a Bargain Basement Decor Aesthetic
Basement décor on the cheap is an excellent way to decorate your home without breaking the bank. This look emphasizes thrifty finds, so you can get that one-of-a-kind look without spending too much or sacrificing quality. Aesthetics are often sacrificed for savings in budget-conscious décor projects, but with bargain basement style, you can make some interesting and creative choices that still look high-end.
The key is to look for items with worn charm; these will add antique character to your space at a low cost. Begin by perusing thrift stores, flea markets, and online marketplaces such as Craigslist and eBay for unique finds such as antique furniture, one-of-a-kind art prints and photography, vintage lighting fixtures, and old textiles (such as handwoven rugs). As long as they’re in good condition, these items will only need minor repairs and cleaning before they can be used.
If you enjoy DIY projects, try giving old furniture pieces new life by recoloring them with paint or upholstery fabric, or replacing old hardware with something more modern but less expensive. You can also give plain window treatments or bedding a vintage shabby chic look by adding decorative trimming or fringe detailing. Rustic details, such as rustic metal stars hung from wall hooks, unfinished wood boards shelving collectibles, or aged enamel kitchenware used as container planters, create a cozy atmosphere in your space. The possibilities are truly limited only by your imagination!
Last but not least, mix bargain basement pieces with higher end furnishings to avoid looking too haphazard. Choose a nice area rug to anchor the seating area of the room, or hang sheer panel drapes instead of heavy ones to add lightness to the space. Such strategic decisions would help you make the most of your savings while also creating a cohesive living environment among all the eclectic finds, allowing you to enjoy beautiful decor on any budget!
How to Build a Closet Bar: Clearing, Building, Decorating, and Organizing Steps
Tools Required
- Pry bar: If needed for removing the old closet shelf supports.
- Miter saw or circular saw: For cutting your wood planks to the correct lengths.
- Jigsaw: For cutting notches so your organizer fits around your existing baseboards.
- Kreg Jig: The Kreg R3 is a smaller, less expensive Kreg Jig that is still easy to use. The Kreg Jig mini is an even cheaper option for those new to woodworking who don’t want to make a large investment.
- Nail gun: For assembling the closet organizer. A hammer and nails can also be used, but it will take much longer. The nail gun I have is easy to use.
- Tape measure
- Drill: For attaching the pocket screws and hanging the clothes rod.
- Carpenter’s square
- Level
- Safety gear: Hearing and eye protection.
How to create an implementation plan
- The first step is clearing out the closet and prepping the space. Remove any existing fixtures or shelving and give the closet a thorough cleaning. This will give you a clean slate to work with and ensure that your bar is free from any unwanted clutter.
- Next, it’s time to build the structure and shelves of your bar. Depending on your design, you may need to modify existing fixtures or build new ones from scratch. Consider using high-quality materials like hardwood or metal to ensure that your bar is durable and long-lasting. Don’t forget to install lighting and other accessories, like a sink or fridge, to make your bar functional and accessible.
- Choosing the right barware and accessories is also important for creating a stylish and functional bar. Consider investing in quality glasses, shakers, and utensils that match your design style. Add decorative touches and accents like artwork or plants to give your bar a personalized touch. Personalizing your bar with unique elements like a vintage sign or custom-made coasters can make it truly one-of-a-kind.
- Finally, it’s important to make sure that your bar is functional and accessible. Consider the layout and placement of your bar, and ensure that it’s easy to access and navigate. Adding comfortable seating and storage options can also help make your bar more functional and enjoyable to use.
My personal favorites:
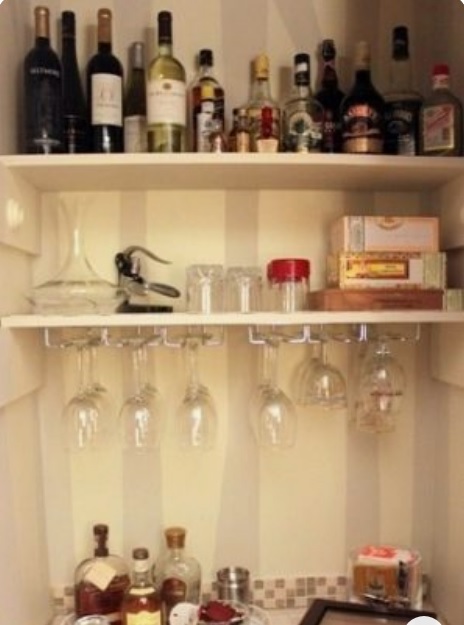
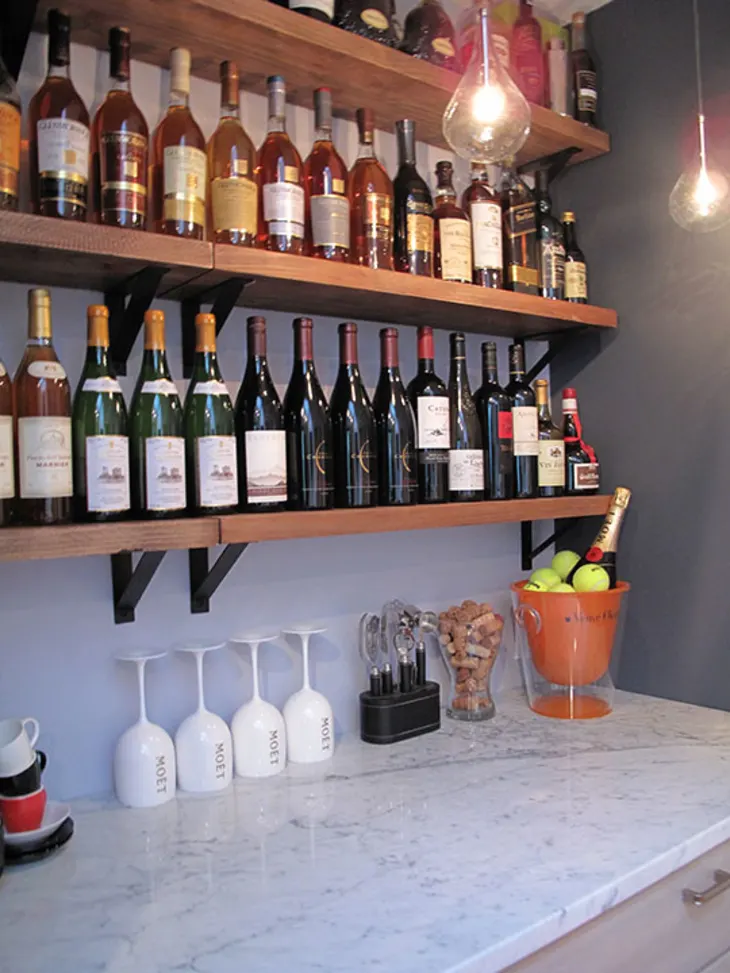
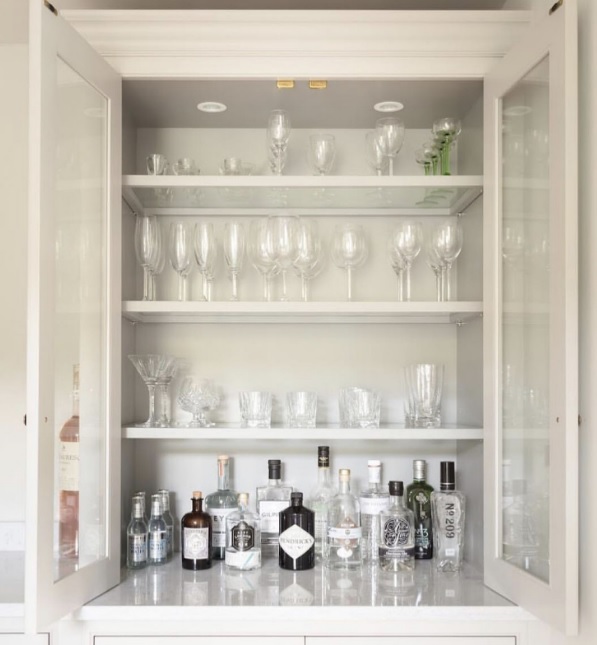
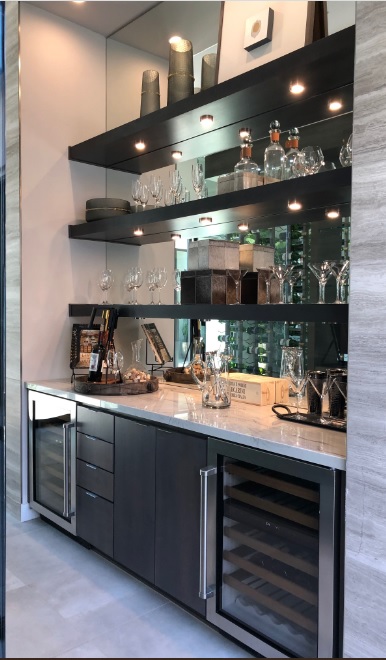
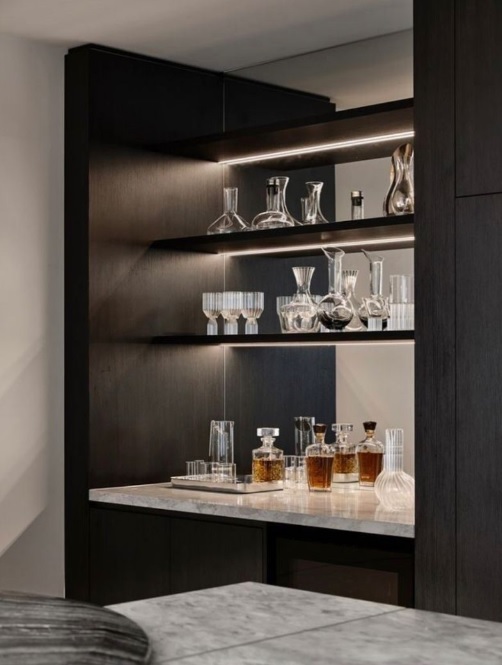
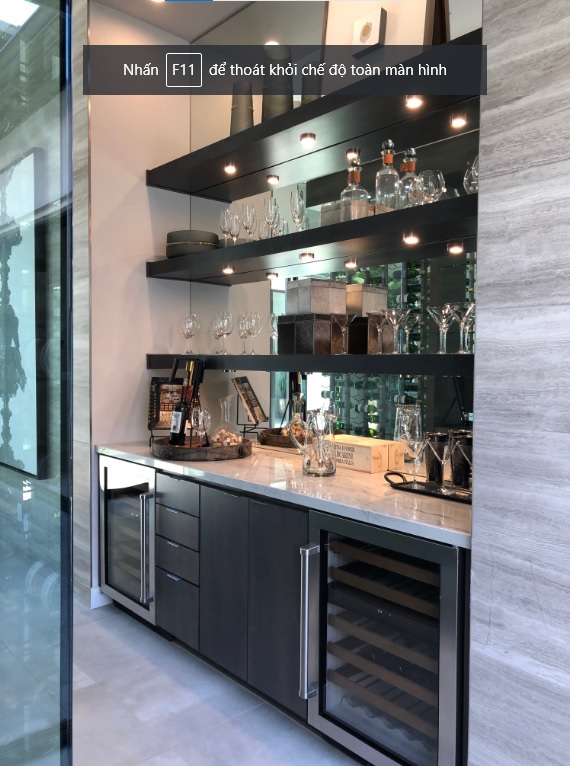
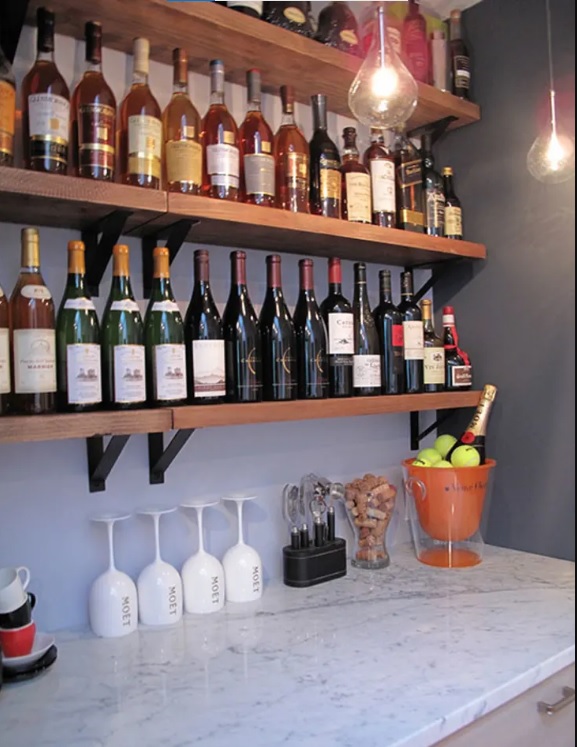
Conclusion
Transforming your coat closet into an in-home bar is a creative solution for low-cost home entertaining, and it’s easier than you think! You can easily transform your closet into the ideal place to entertain by adding some small décor items and inexpensive barware. You’ll have everything you need to make your guests feel like they’re at their own private happy hour while saving money on drinks. You’ll also have the satisfaction of creating your own mini-pub in the comfort of your own home. Begin planning today so that you can begin mixing drinks tomorrow!
Excerpt
Make your coat closet into an in-home bar to simplify entertaining on a budget. You can use the space to store glassware, mixers, wine, beer, and other liquors for easy access during impromptu gatherings with minimal effort and cost. For even more efficiency, invest wisely in liquor organizers or shelf risers.
We’re Emma Carole Paradis and Kimberly Carole, the owners and designers of Impeccable Nest, based in Bedford, New Hampshire. A mother-daughter team with a love of design. Originally from Manhattan Beach, California, now based in Bedford, New Hampshire, we bring a Southern California cool and New England tradition to our design. Not only do we work together…we also live together in a multi-generational home…and a home that they are known to design for others.
